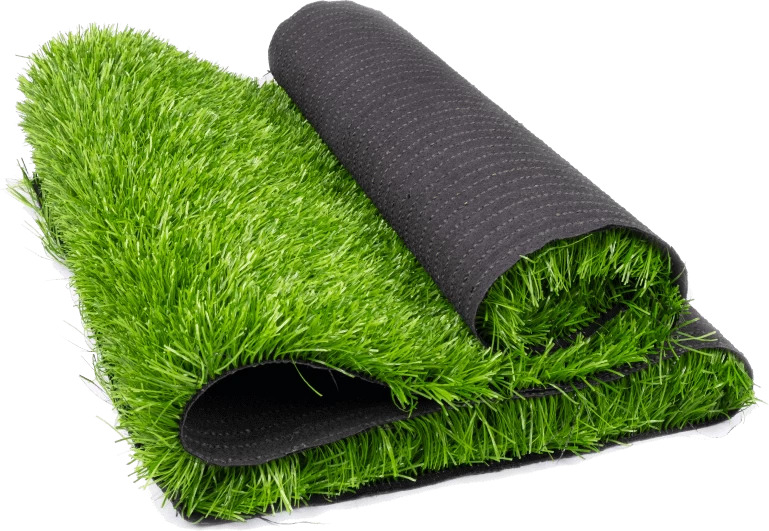
If you want to do your own artificial grass Melbourne, you must first acquire the synthetic grass. Our knowledgeable staff will assist you in determining the best synthetic grass for you and your home.
Choosing the appropriate grass may be difficult, and with a variety of types available, we work hard to understand how you want your synthetic grass to add value to your house. With years of expertise assisting individuals in brightening their homes with fake grass, we will make it simple for you to select the perfect grass to purchase.
Our simple step-by-step guide will have you from backyard desert to synthetic grass oasis in no time. Simply follow the DIY artificial grass Melbourne procedures below to install artificial grass successfully for the first time.
Step 1 – Correctly Excavate the Surface
To guarantee that your synthetic grass is properly installed, you must first dig the area where your turf will be permanently installed. To do this, all existing grass and roots must be removed, and the current surface must be dug to the appropriate level, which is typically 80 – 100 mm below the connecting surface. This stage just requires a shovel, rake, and wheelbarrow.
Step 2: Make A Stable Foundation
You’ll want to make sure you’re creating a good level area for your fake grass to sit on. The first step in this technique is to apply a 50mm – 70mm crushed rock base and smooth it evenly throughout the surface. Next, moisten and compress the crushed rock using a vibrating plate or hand tap. The crushed rock serves as a foundation for your grass and aids with drainage. This stage just requires a rake, shovel, wheelbarrow, hose, and hand tap/compactor.
Step 3: Spread, level, and compact crusher dust
On top of the crushed rock layer, add a 20 mm- 40mm layer of crusher dust. Crusher dust is devoid of large pebbles and compacts well, giving your synthetic grass a smooth and level surface to sit on. For a smooth, uniform finish, level out the crusher dust before wetting and compacting it. We will give you with adequate crusher dust once again; all you need is a wheelbarrow, shovel, rake, and hand tap/compactor!
Step 4: Install the Synthetic Grass
It’s now time to install your synthetic grass on top of the prepared area. If you have many pieces of synthetic grass, make sure they all face the same way. Simply ensure that the fake grass blades are all pointing the same direction. You will just need your purchased synthetic grass and a little bit of strength/help to move the grass around for this phase.
Step 5: Tape Together Joins
Because you want your fake grass to seem real, making sure your joins are exact is critical. After you’ve laid out your grass, make sure you’ve lined the joins up exactly next to each other, with the surface beneath totally hidden. When you’re satisfied, fold back both pieces of fake grass and apply the joining tape on the surface, sticky side up! After that, take away the white layer. Place the grass back down on top of the connecting tape with care, applying some weight/pressure to the grass.
Step 6: Adjust the Direction
We’re almost there. As you can see, there is probably fake grass draping over your boundaries. No worries, simply take a utility knife and carefully chop off the extra grass when necessary. This procedure will just require a utility knife and new blades.
Step 7 – Trim Excess Grass as Needed
After you’ve placed and clipped all of your grass, you’ll need to secure the edges. Place 150mm nails or U pins 200mm apart around the corners and pound them in with a hammer. Before hammering the nail/u pin all the way to the ground, flick the grass blades out from beneath the end of the nail/U pin to avoid trapping all of the grass blades. This ensures that any nails or U pins are no longer visible.
Step 8: Use Silica Sand
It’s starting to look good! The next step is to scatter the precisely graded dry sand uniformly around your newly installed synthetic grass area. Brush this uniformly throughout the surface once again, making sure no sand is visible on top. You may do this with a synthetic turf power broom or a push broom. This final step ensures that your grass is weighted down and that the grass blades remain upright. This stage requires only a stiff broom or a power broom. Handy Tip: If feasible, do this on a sunny day, since the sun will encourage the grass blades open out and stand up organically.
Step 9 – Enjoy Yourself
Pour yourself a drink or a glass of wine! You’re done, legend! Now sit back and gather your buddies to appreciate your handy work and tell them how amazing you are!
